Mobile inspection systems for ATEX hazardous areas and a mobile robot for diagnostics of steel walls in the industrial facilities

Mobile Inspection Platform
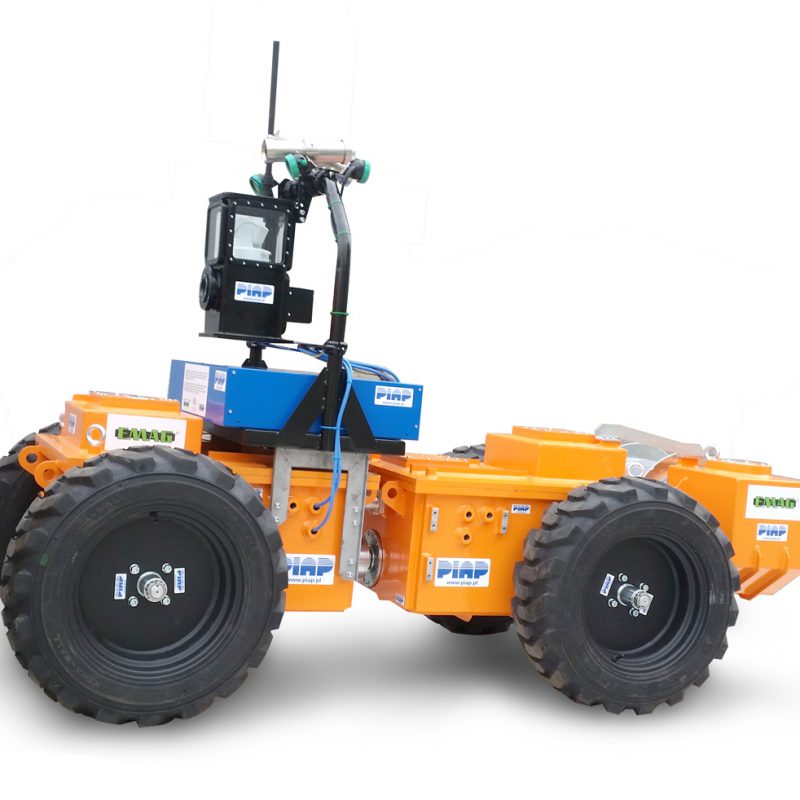
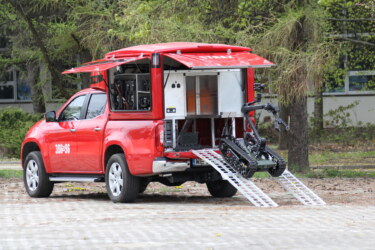
Mobile Inspection Platform (MPI) for operation in hazardous areas of the hard coal mines designed as part of the research project financed by the National Centre for Research and Development (NCBR) with the Institute of Innovative Technologies EMAG in Katowice.
MPI is a wheeled vehicle designed to operate in M1 or M2 Group 1 hazardous areas as defined by the ATEX Directive.
Mobile inspection platform, apart from the set of sensors for physical and chemical analysis of the explosive atmosphere is fitted with monochromatic, RGB and thermal imaging cameras.
The platform is a remote-operated vehicle that can be controlled via a 1000 m long optical fibre or radio-controlled using Wi-Fi allowing the platform in the hazardous area to be controlled directly from the safe zone within the mine.
MPI design allows to transport an additional load (up to 60 kg) attached to its body. The platform can be used as a direct support for the mining rescue team or for miners handling heavy loads.
MPI features a IP67 protection rating and can be used as a support to the fire fighting operations as a mobile water curtain.
The main advantages of using the Mobile Inspection Platform include improved operation safety, keeping the personnel away from the hazardous areas and remote diagnostics in hazardous conditions.
Mobile robot for diagnostics of steel walls in industrial facilities
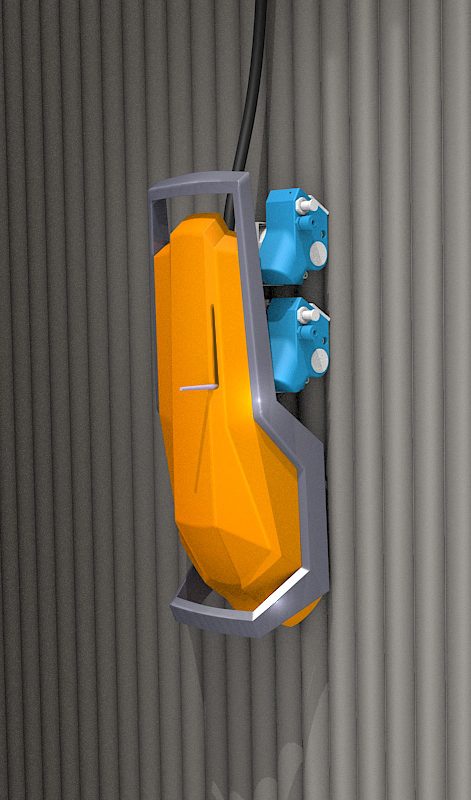
Diagnostics of furnace walls of high-power boilers require use of linear guideways or scaffolding. The operator manually measures wear levels in selected measuring points (up to 20,000 points). As a response to the current measuring method, PIAP has developed a prototype system for automatic diagnostics of the furnace walls.
The mobile robot is part of an advanced system for diagnostics of corrosive and erosive wear of boilers. The diagnostics system includes a robot, an operator station and an expert station.
Currently, the diagnostics require use of scaffolding or linear guideways and ultrasonic thickness gauges. It also involves a visual inspection to assess wear and technical condition of the boiler walls. It must be noted that to achieve an efficient heat transfer from the combustion zone in the boiler furnace to the inside of the water and steam tubes, wall thickness of the heat resistant tube must be small – approx. 5 mm. Sine the internal pressure is high and may exceed the atmospheric pressure even by up to 200x, the effective range of the wall thickness losses (R radius reduction) is just over 2 mm. The general accuracy of the measuring instrument is no less than 0.1 mm.
Measuring the wall thickness of radiant tubes is one of many operations the boiler is subject to as part of the pre-repair tests. Other operations may include welded joint (tube joint) testing, visual inspection of the corrosion pits on the tube surface, metallographic testing etc.
The robot moving along the walls carries the measuring module for detecting defects on the external surface of the furnace tubes. Due to its functional features, the measurement is contactless. Testing the entire half-profile of the tube subject to high temperature, erosion and corrosion during coal combustion allows a more accurate estimation of the tube wear, improving the quality of the expertise.
The benefits from using a robot for diagnostics of boiler wear include improved safety, shorter times and cost reduction.


